When we saw Emet for the first time, there was a large plastic container sitting under the deadlight that is above the galley. No problem, we fully expected to have to re-bed the deadlights and portlights.
I started with one of the smaller portlights thinking that it should be simple. The first step, of course, was to remove the frame. In the process of doing that, I was struck by the amount of caulk that I was having to cut through to get the frame out. Once out, I realized why all of that caulk was there. The cutout for the portlight was almost as large as the frame itself and there was some rot. Someone had “filled” the area in an attempt to “seal” it . . . AND with silicone no less.
Nerds. OK. I’ve never worked with epoxy and fiberglass, but the Internet is a wonderful thing and I was sure that I could find some answers. We got started by purchasing some West Systems epoxy and glass mat. I downloaded the West Systems manual for how to execute boat repairs using their system. Wonderful resources, but as I knew, there is only so much a written document can explain about the art of making a hole smaller. I decided that I needed a mold that I could insert in the hole, position, and then hold fixed so that I could putty some epoxy and fiberglass around it. Of course, once the epoxy cured I needed to be able to easily remove the mold.
The Internet was not so wonderful about enlightening me on this process. (Most likely I just was not searching the correct words or phrases.) My nextboat neighbor was, however.
“Hey, whatcha doing over there?”
“I’ve got to add some epoxy and fiberglass to this hole to make it smaller so the portlight frame sits inside it properly and can seal.”
“Well, you don’t want to use fiberglass for that. It will be a mess. Get some colloidal silica filler. Mix that in the epoxy until it’s peanut butter consistency. Then fill in. What were you going to use for the mold?”
“This piece of foam wrapped in plastic sheeting.”
“What’d you cut it with? It’s looked really jagged.”
“I used a utility knife. I made a couple of attempts with brand new blades and this was a neat as I could get it.”
“You can’t cut it with a jigsaw?”
“Not sure. Seems like the blade would just tear it worse than the knife blade.”
“Well, I’d try something different because that piece will make a horrible mold.”
So, I wound up being able to cut the foam with a jigsaw. I affixed it to a piece of semi-rigid plastic, pressed it to the inside of the salon cabin, positioned it, then filled in the void around the mold with peanut butter thick epoxy. Worked pretty well. Still had to do some sanding to smooth things out and get the thickness correct.
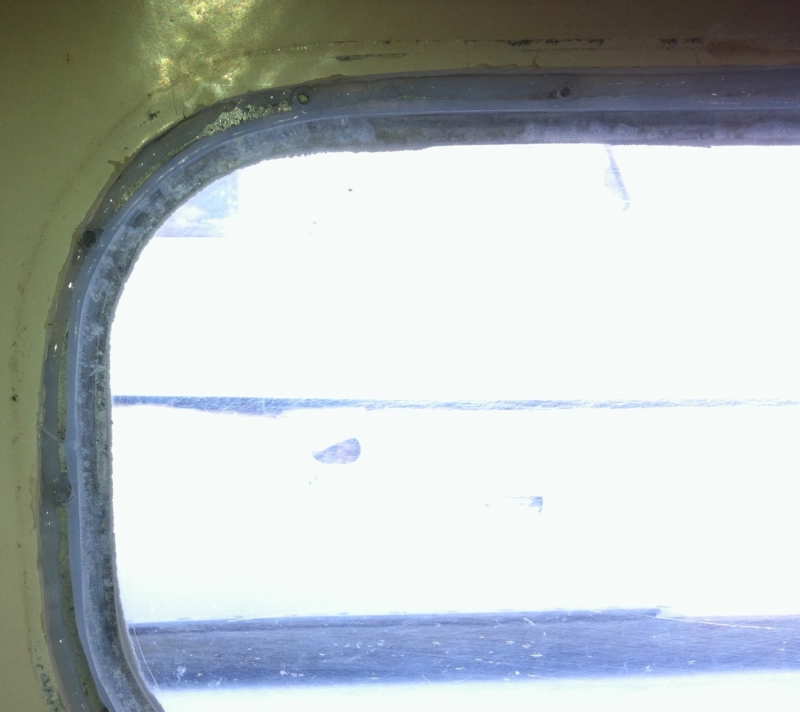
Here’s a pic of the deadlight that I had to reseal. I didn’t take any pics of the first portlight that was done. If you look closely at the top of the pic, you can see that the hole for the frame is cut maybe slightly too large near that screw hole. What was done on the first one was the foam epoxy mold was made the same size as the acrylic. Once the epoxy cured, I drilled holes through the epoxy for the screws and barrel nuts. What was done on this one was I used the old acrylic as the mold and filled in the epoxy around that piece.
Butyl tape** was used to seal the lights. Worked like a champ. Passed the direct water hose spray test on all sides, edges, and surfaces and haven’t leaked during any of the rain we have received. I’m sure there are maybe better ways to do this, but this worked and left me feeling confident that it would be a “permanent fix” or rather I don’t feel like I’ll be “fixing” it again any day now. *
* Many steps and a description of the frustration and mess of the whole project were intentionally left out of this post for brevity and to keep this family friendly.
** No affiliation. Just letting you know exactly what I used.

